
Do you have a Whip Mix ½ HP Model Trimmer? Replacing the waterline to the solenoid or electric water valve on the ½ HP Model Trimmer used to be somewhat challenging. It involved placing a brass threaded ring over a plastic ring that encircled the waterline hose. The ring combination prevented water leakage.
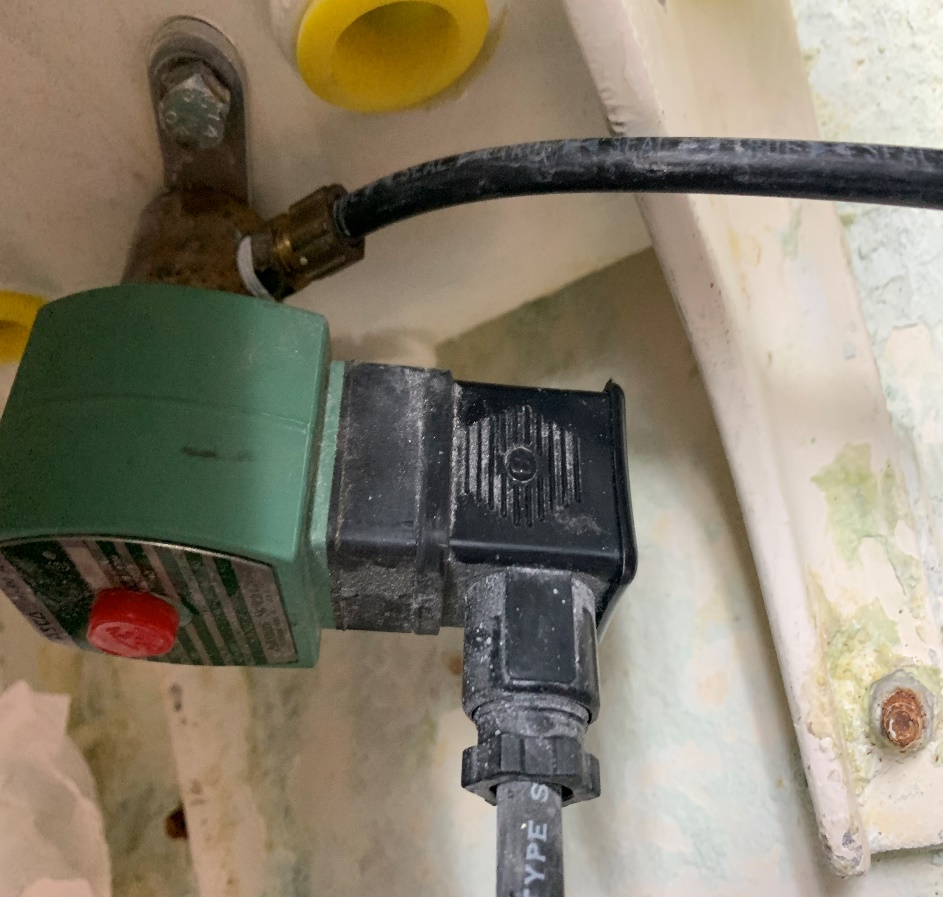 Fig. 1
The challenge was that, with the multiple parts, it was sometimes difficult to install properly. If it wasn’t, it had the potential to leak. (Fig. 1).
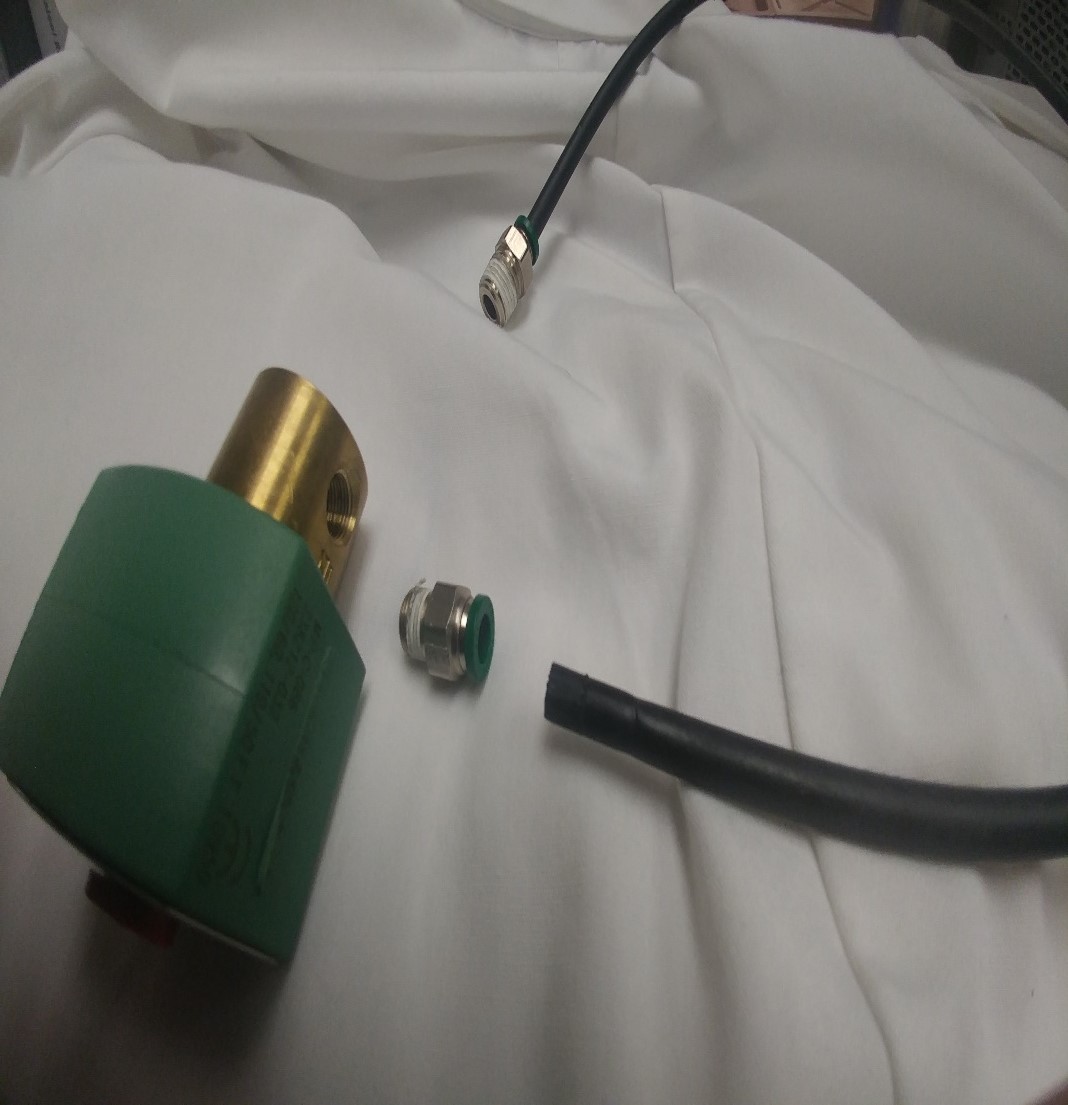 Fig. 2
The current water inlet hose connector is much simpler and very unlikely to leak once installed – even for users that may not feel comfortable doing plumbing work. The connection involves only one Prestolok Male Connector ¼” MD5340 item# 09835 (Fig. 2).
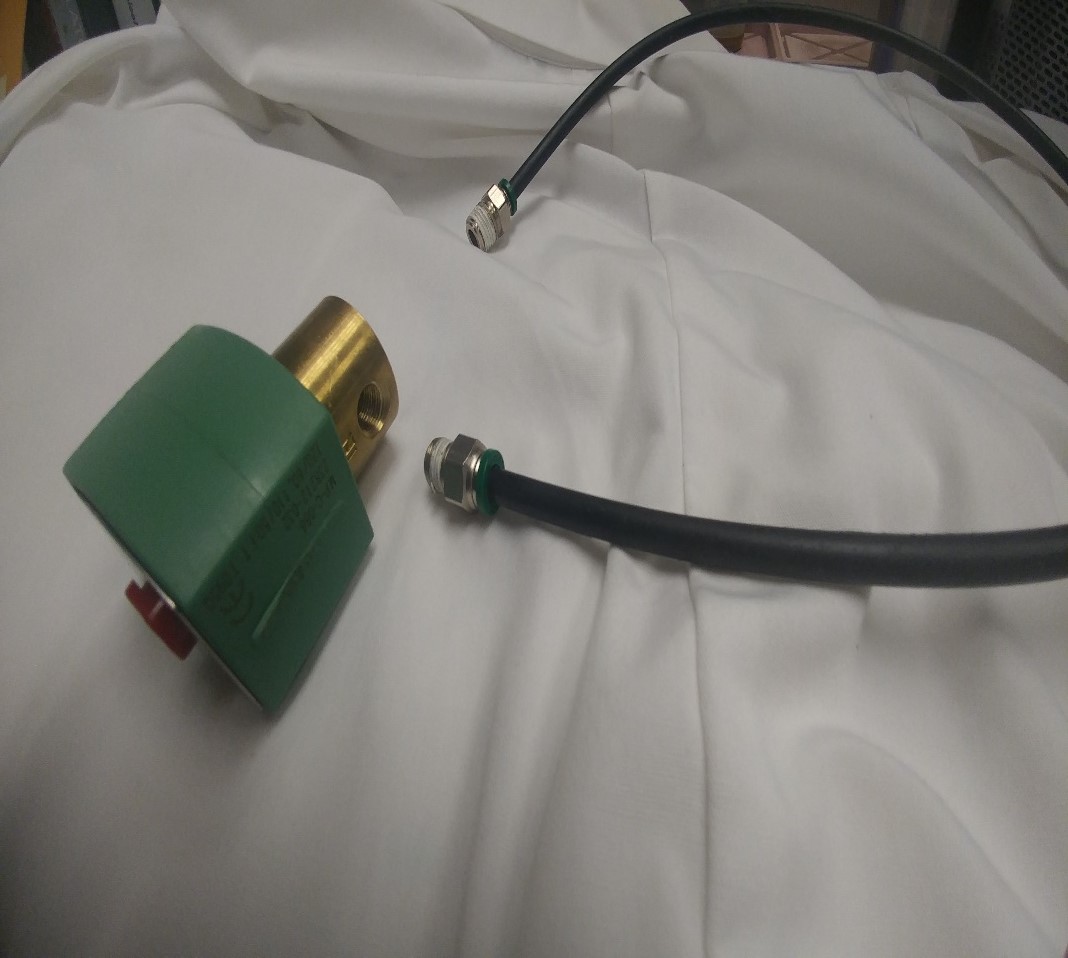 Fig. 3
Simply push the black hose into the green ¼” quick connect opening. The hose will still turn freely but maintain a watertight connection (see Fig. 3).
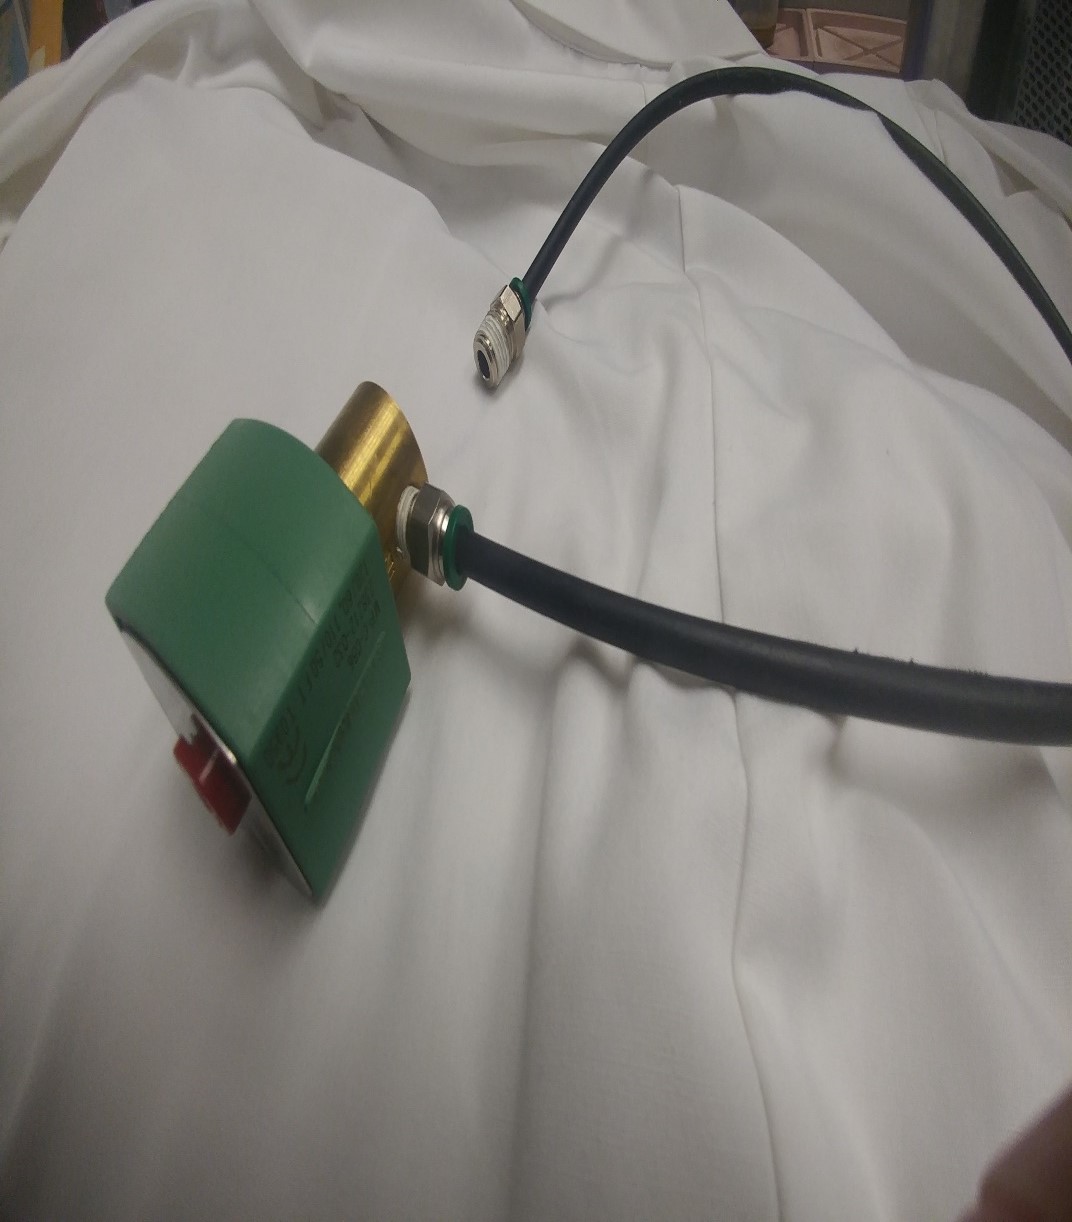 Fig. 4
Ensure that Teflon tape covers the threads before connecting, to allow the best seal possible. Simply screw the quick-connect fitting into the brass column of the inlet side of the solenoid. It is usually designated by “IN” or a “1” inscribed near the hole (Fig. 4). If the hose has to be released, push down on the green ring toward the fitting and pull the hose to remove.