
The VPM2 and VPMmini Vac-U-Mixer feature a plastic cross shaped drive nut, which is designed to wear out over time. Its purpose is to conserve wear on the motor and prolong motor life. Replacing the drive nut is much easier and far less expensive than having to replace the motor.
The items you will need are:
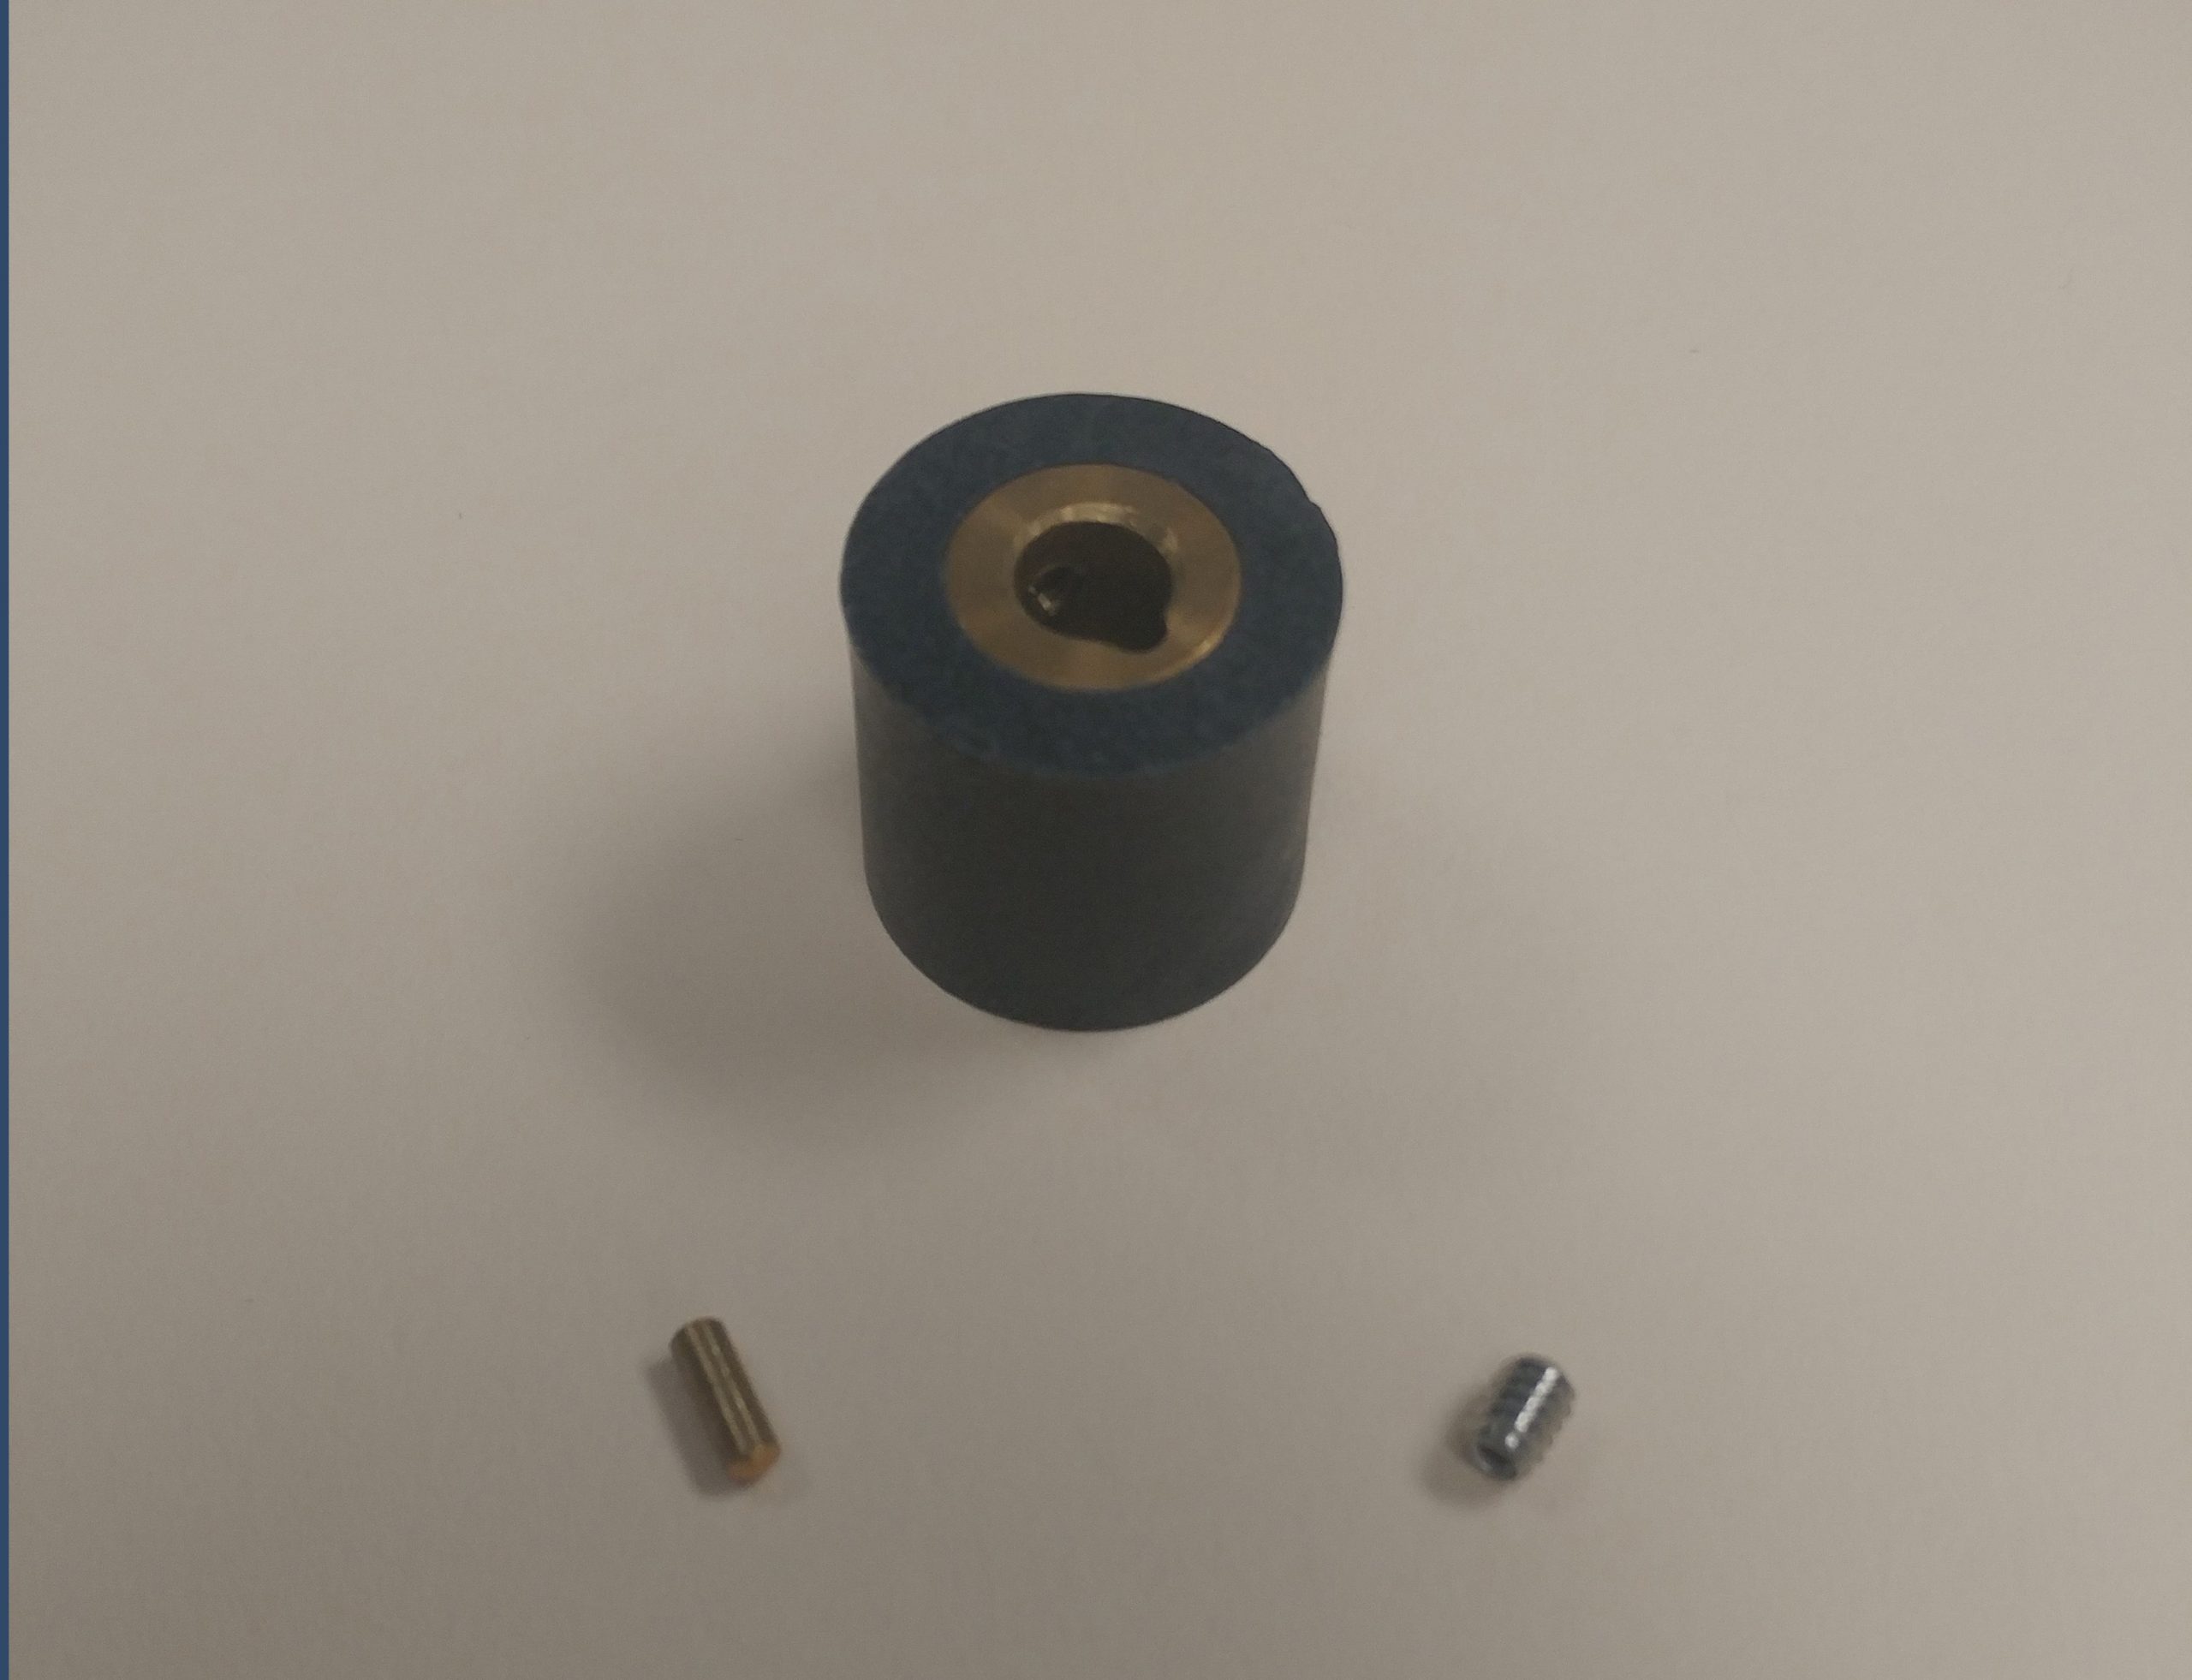
- Item # 08940 –Drive nut Assembly f/VPM2/VPM Mini
- 5/16” Allen tool
- Drive Nut Assembly (see picture below)
Loosen set screw to remove the old drive nut assembly.
Sometimes it may be necessary to heat the allen tool to soften the adhesive and make it easier to remove the drive nut, because Loctite is used at the factory during assembly on the set screw.
DO NOT ATTEMPT TO HEAT THE DRIVE NUT ITSELF!
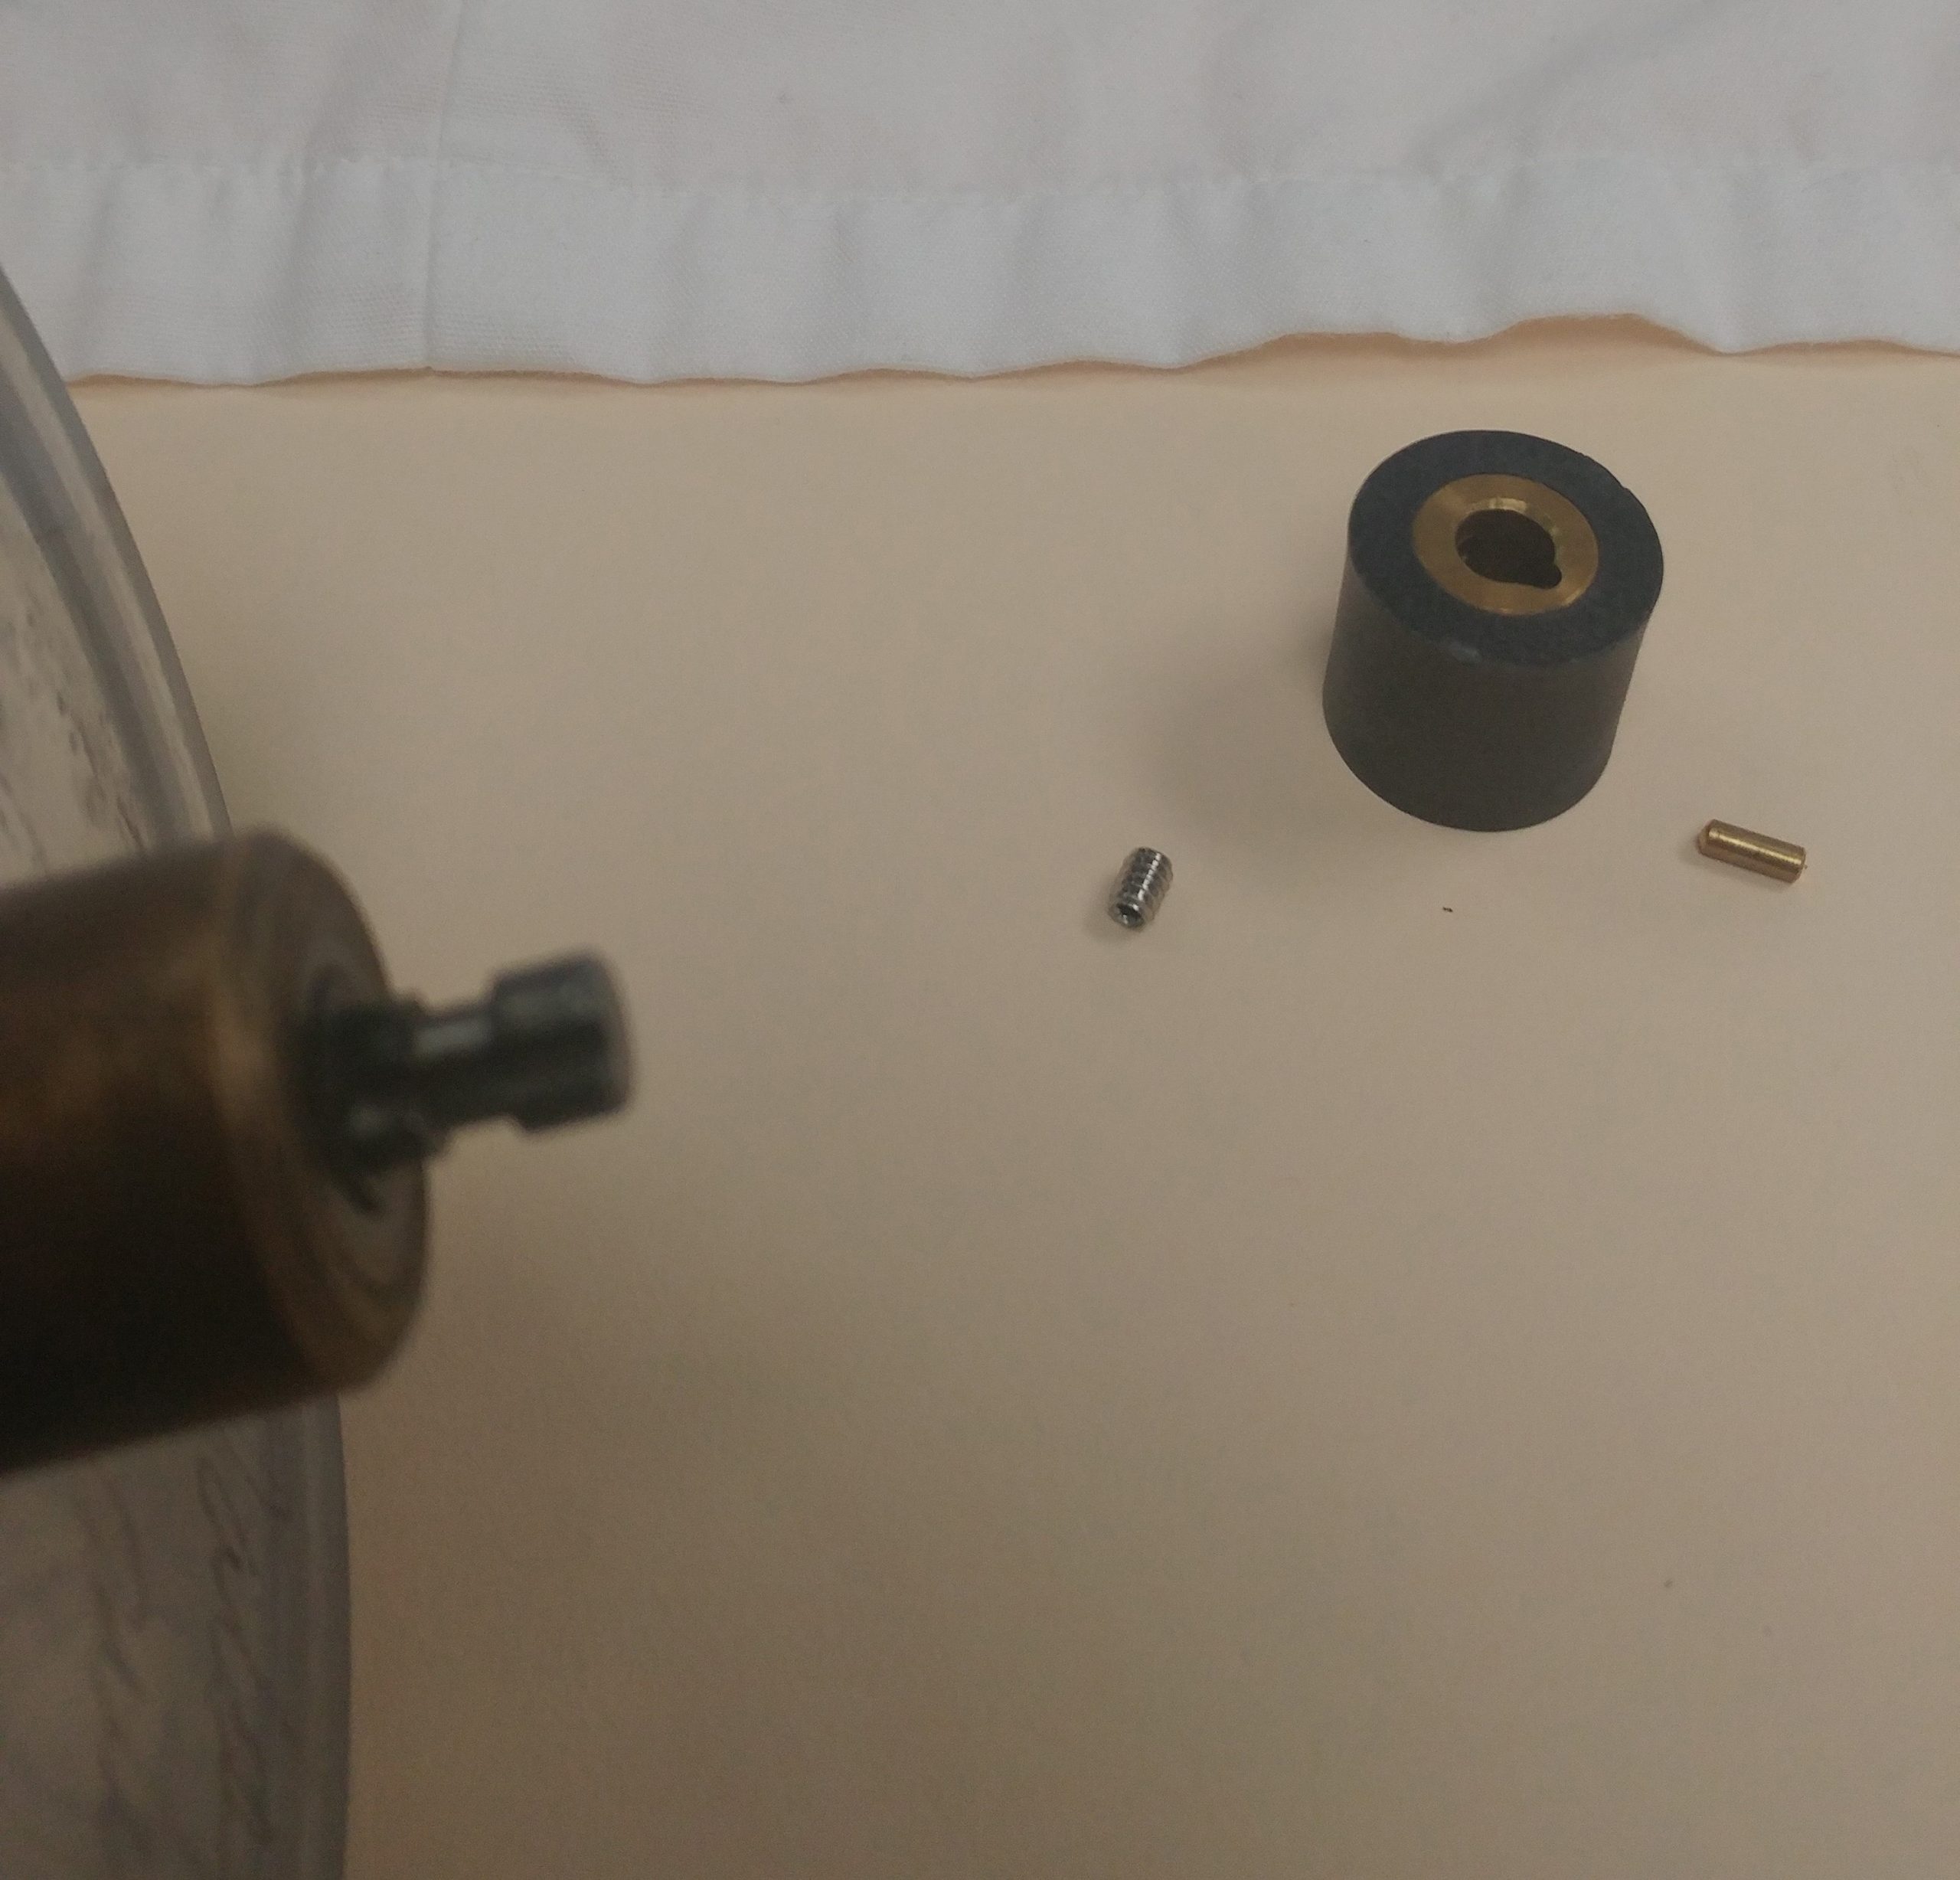
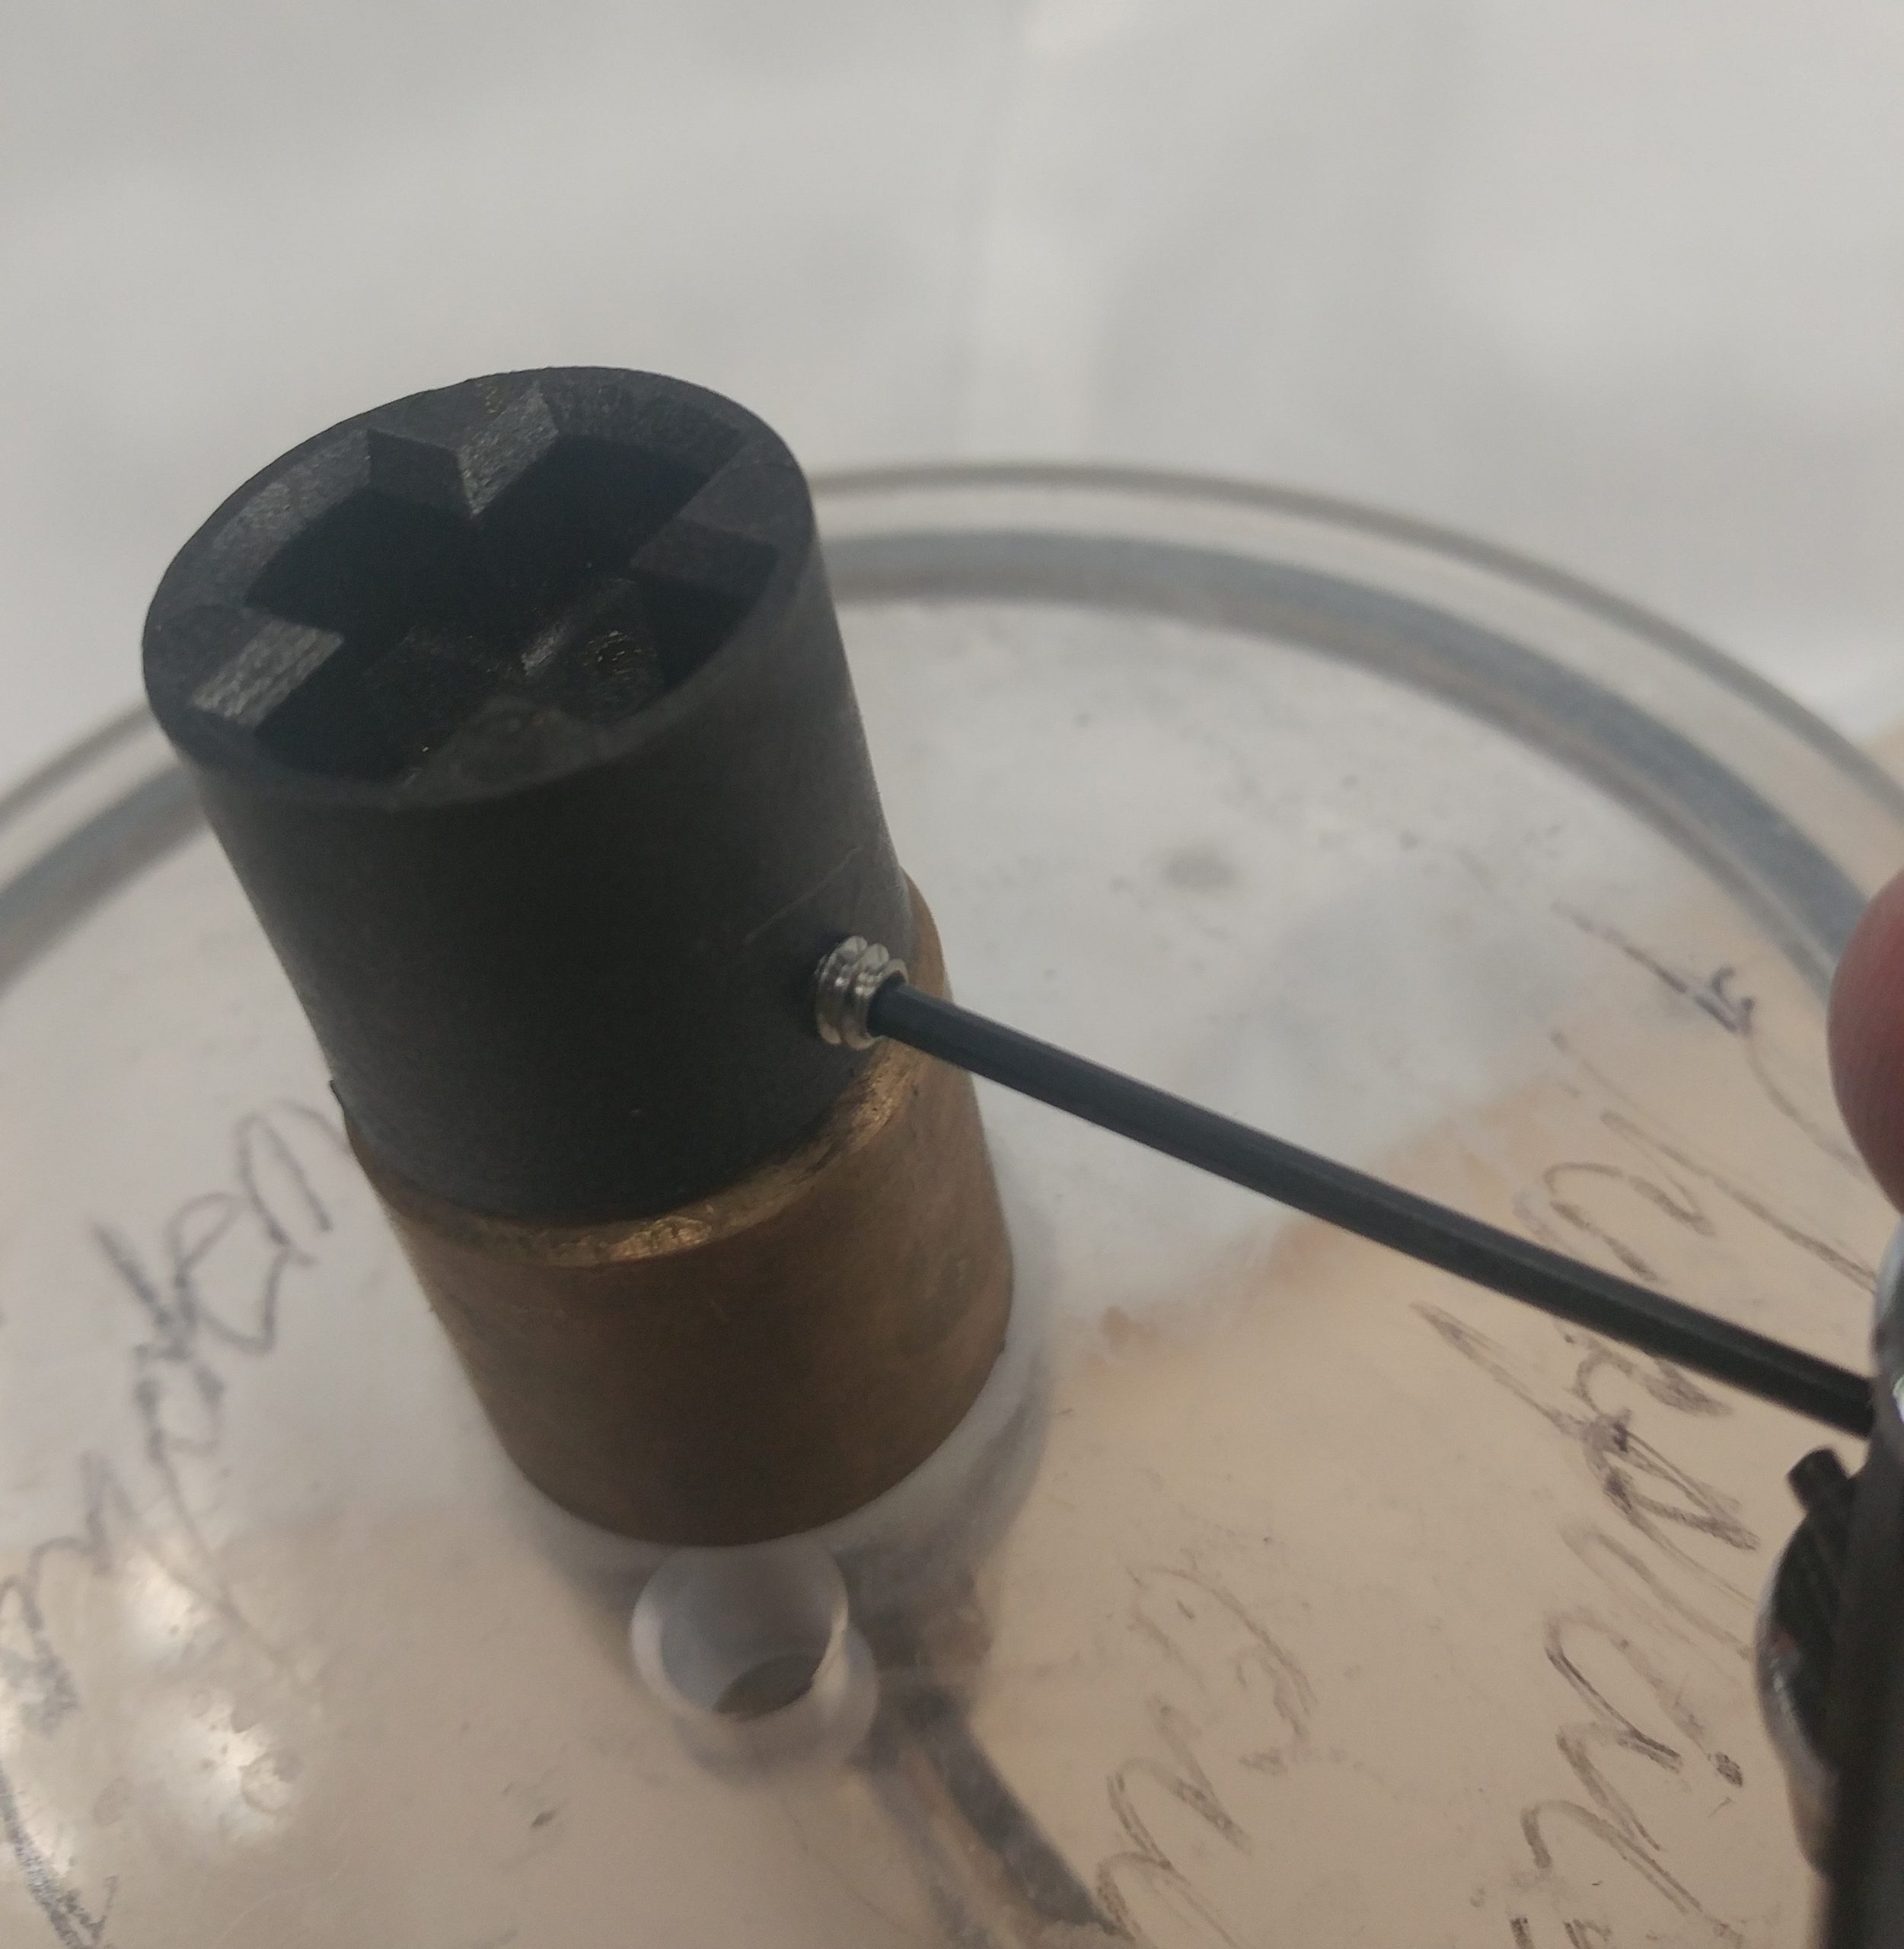
Drive nut removed to reveal stem of paddle assembly, with set screw and brass pin.
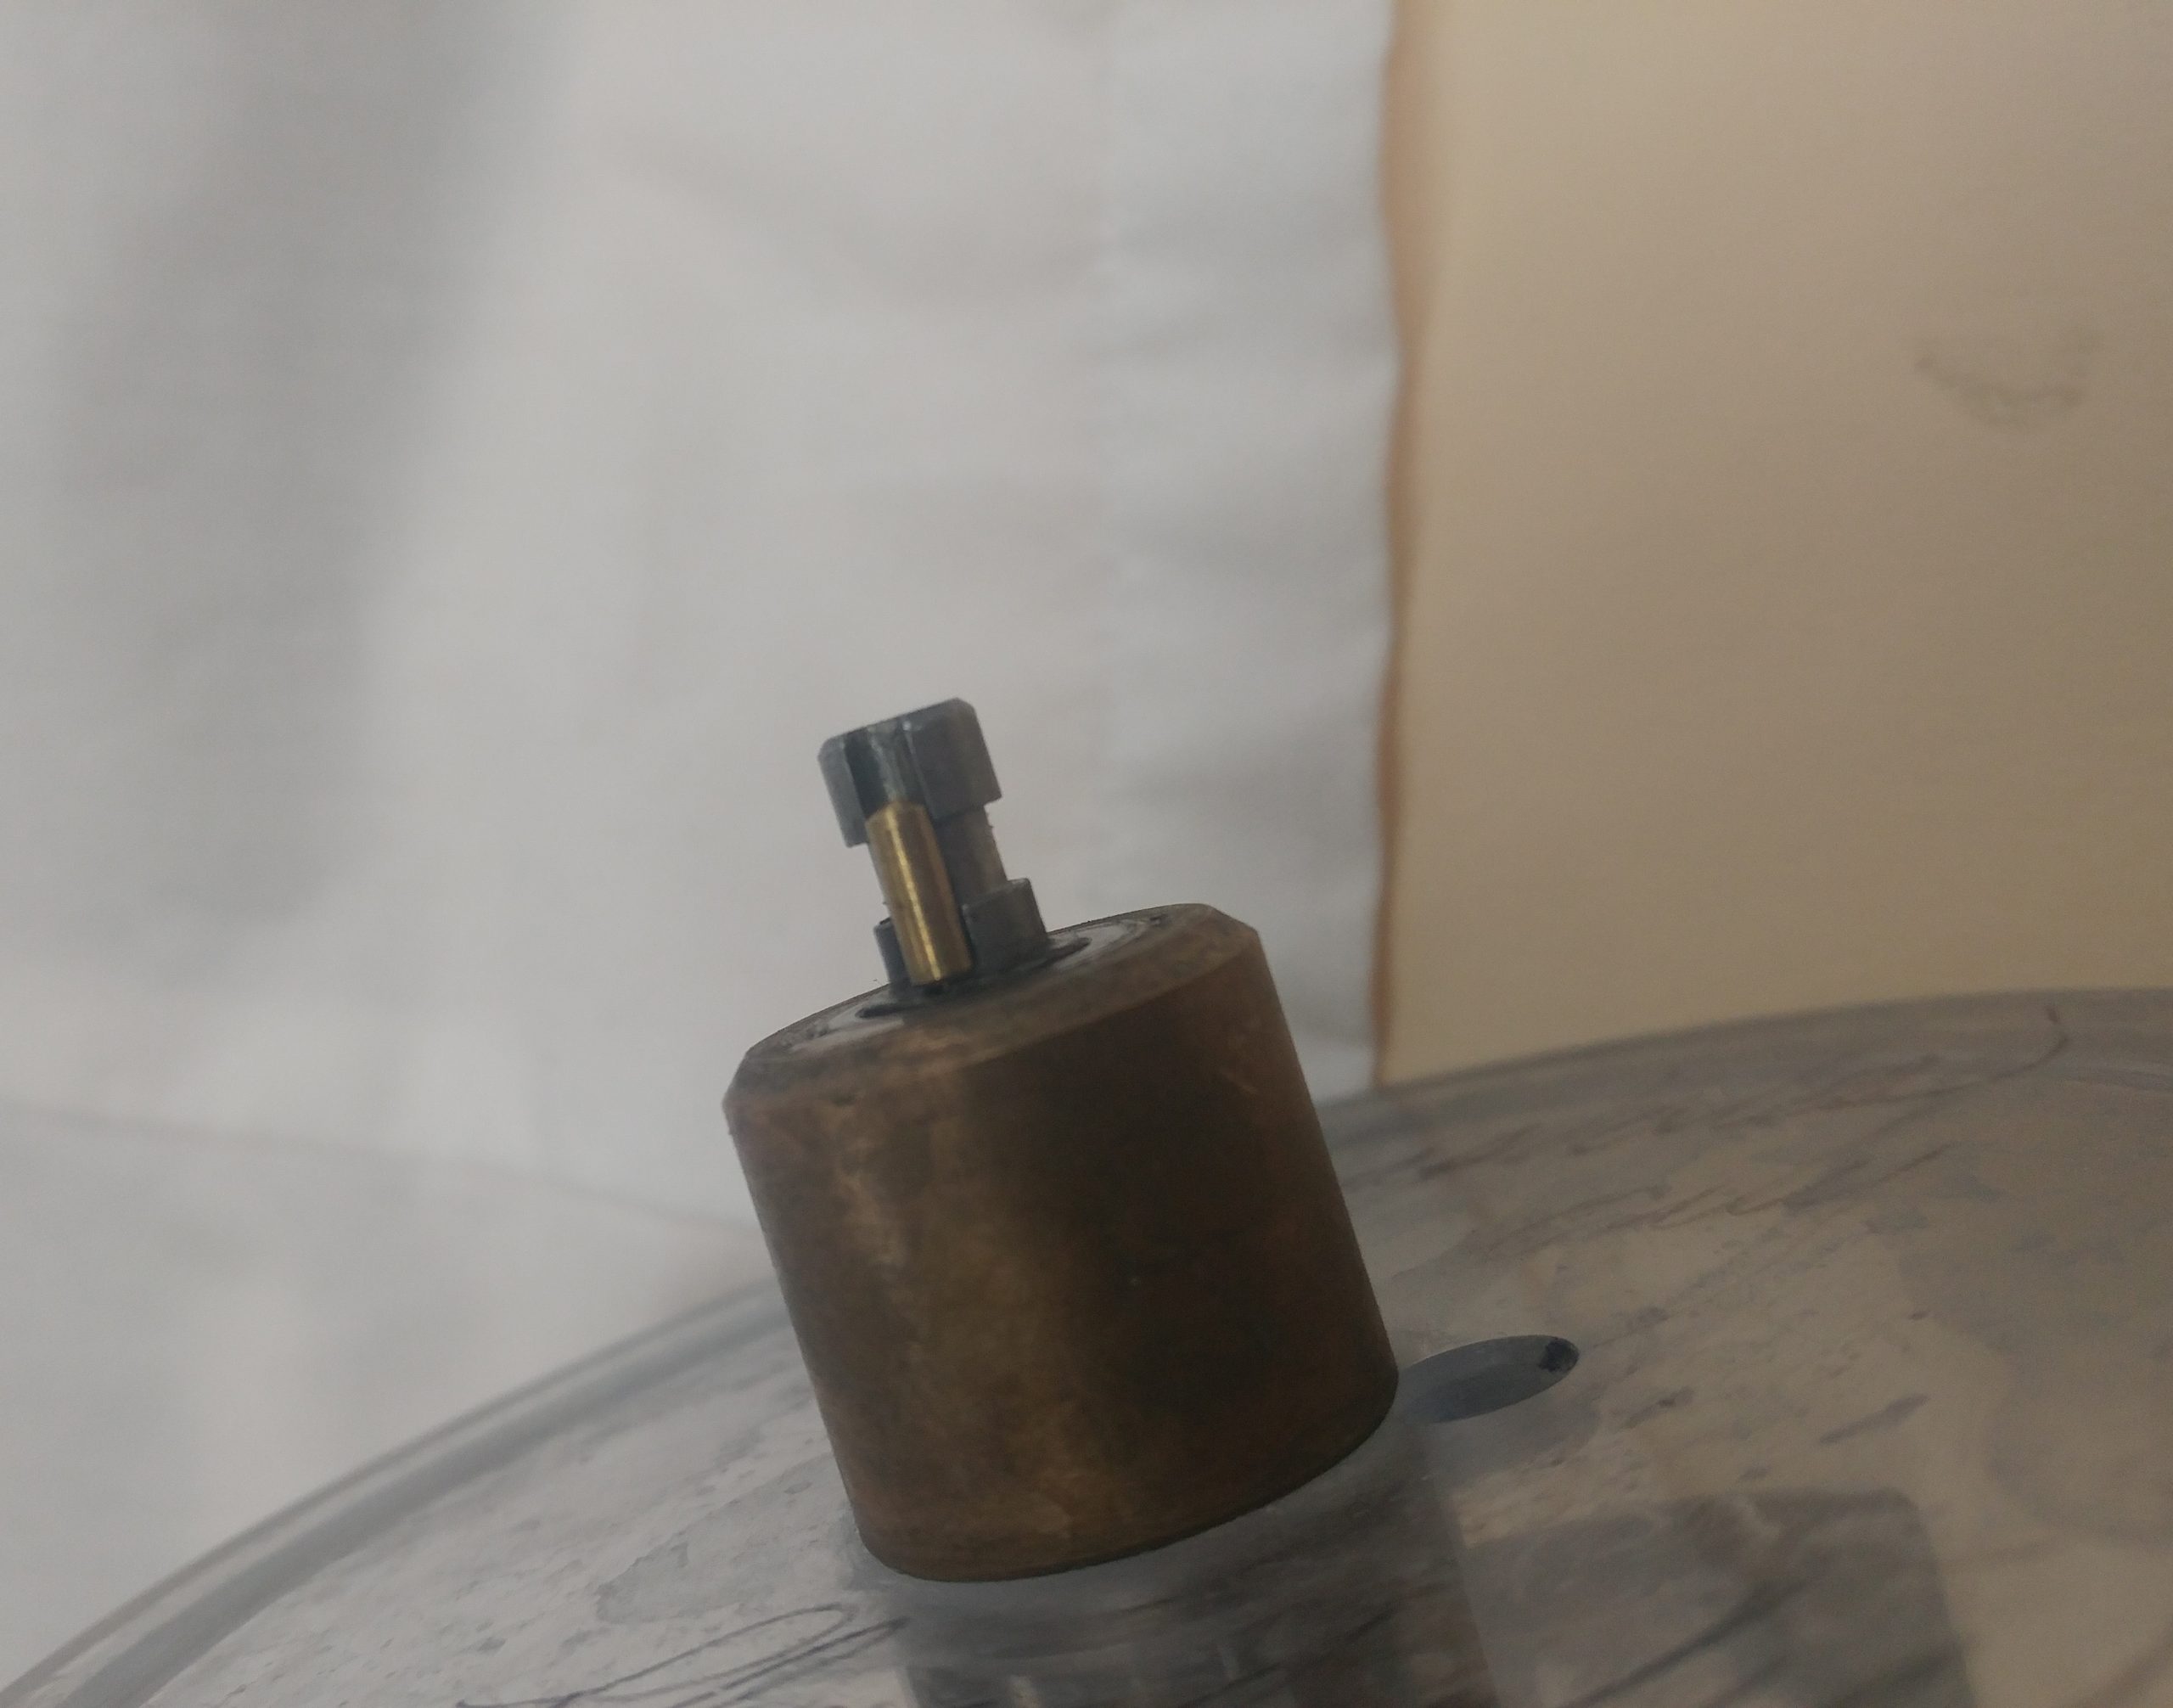
Brass pin replaced in channel of paddle shaft stem. This is very important as it allows clockwise and counterclockwise movement of the paddle shaft in the VPM2.
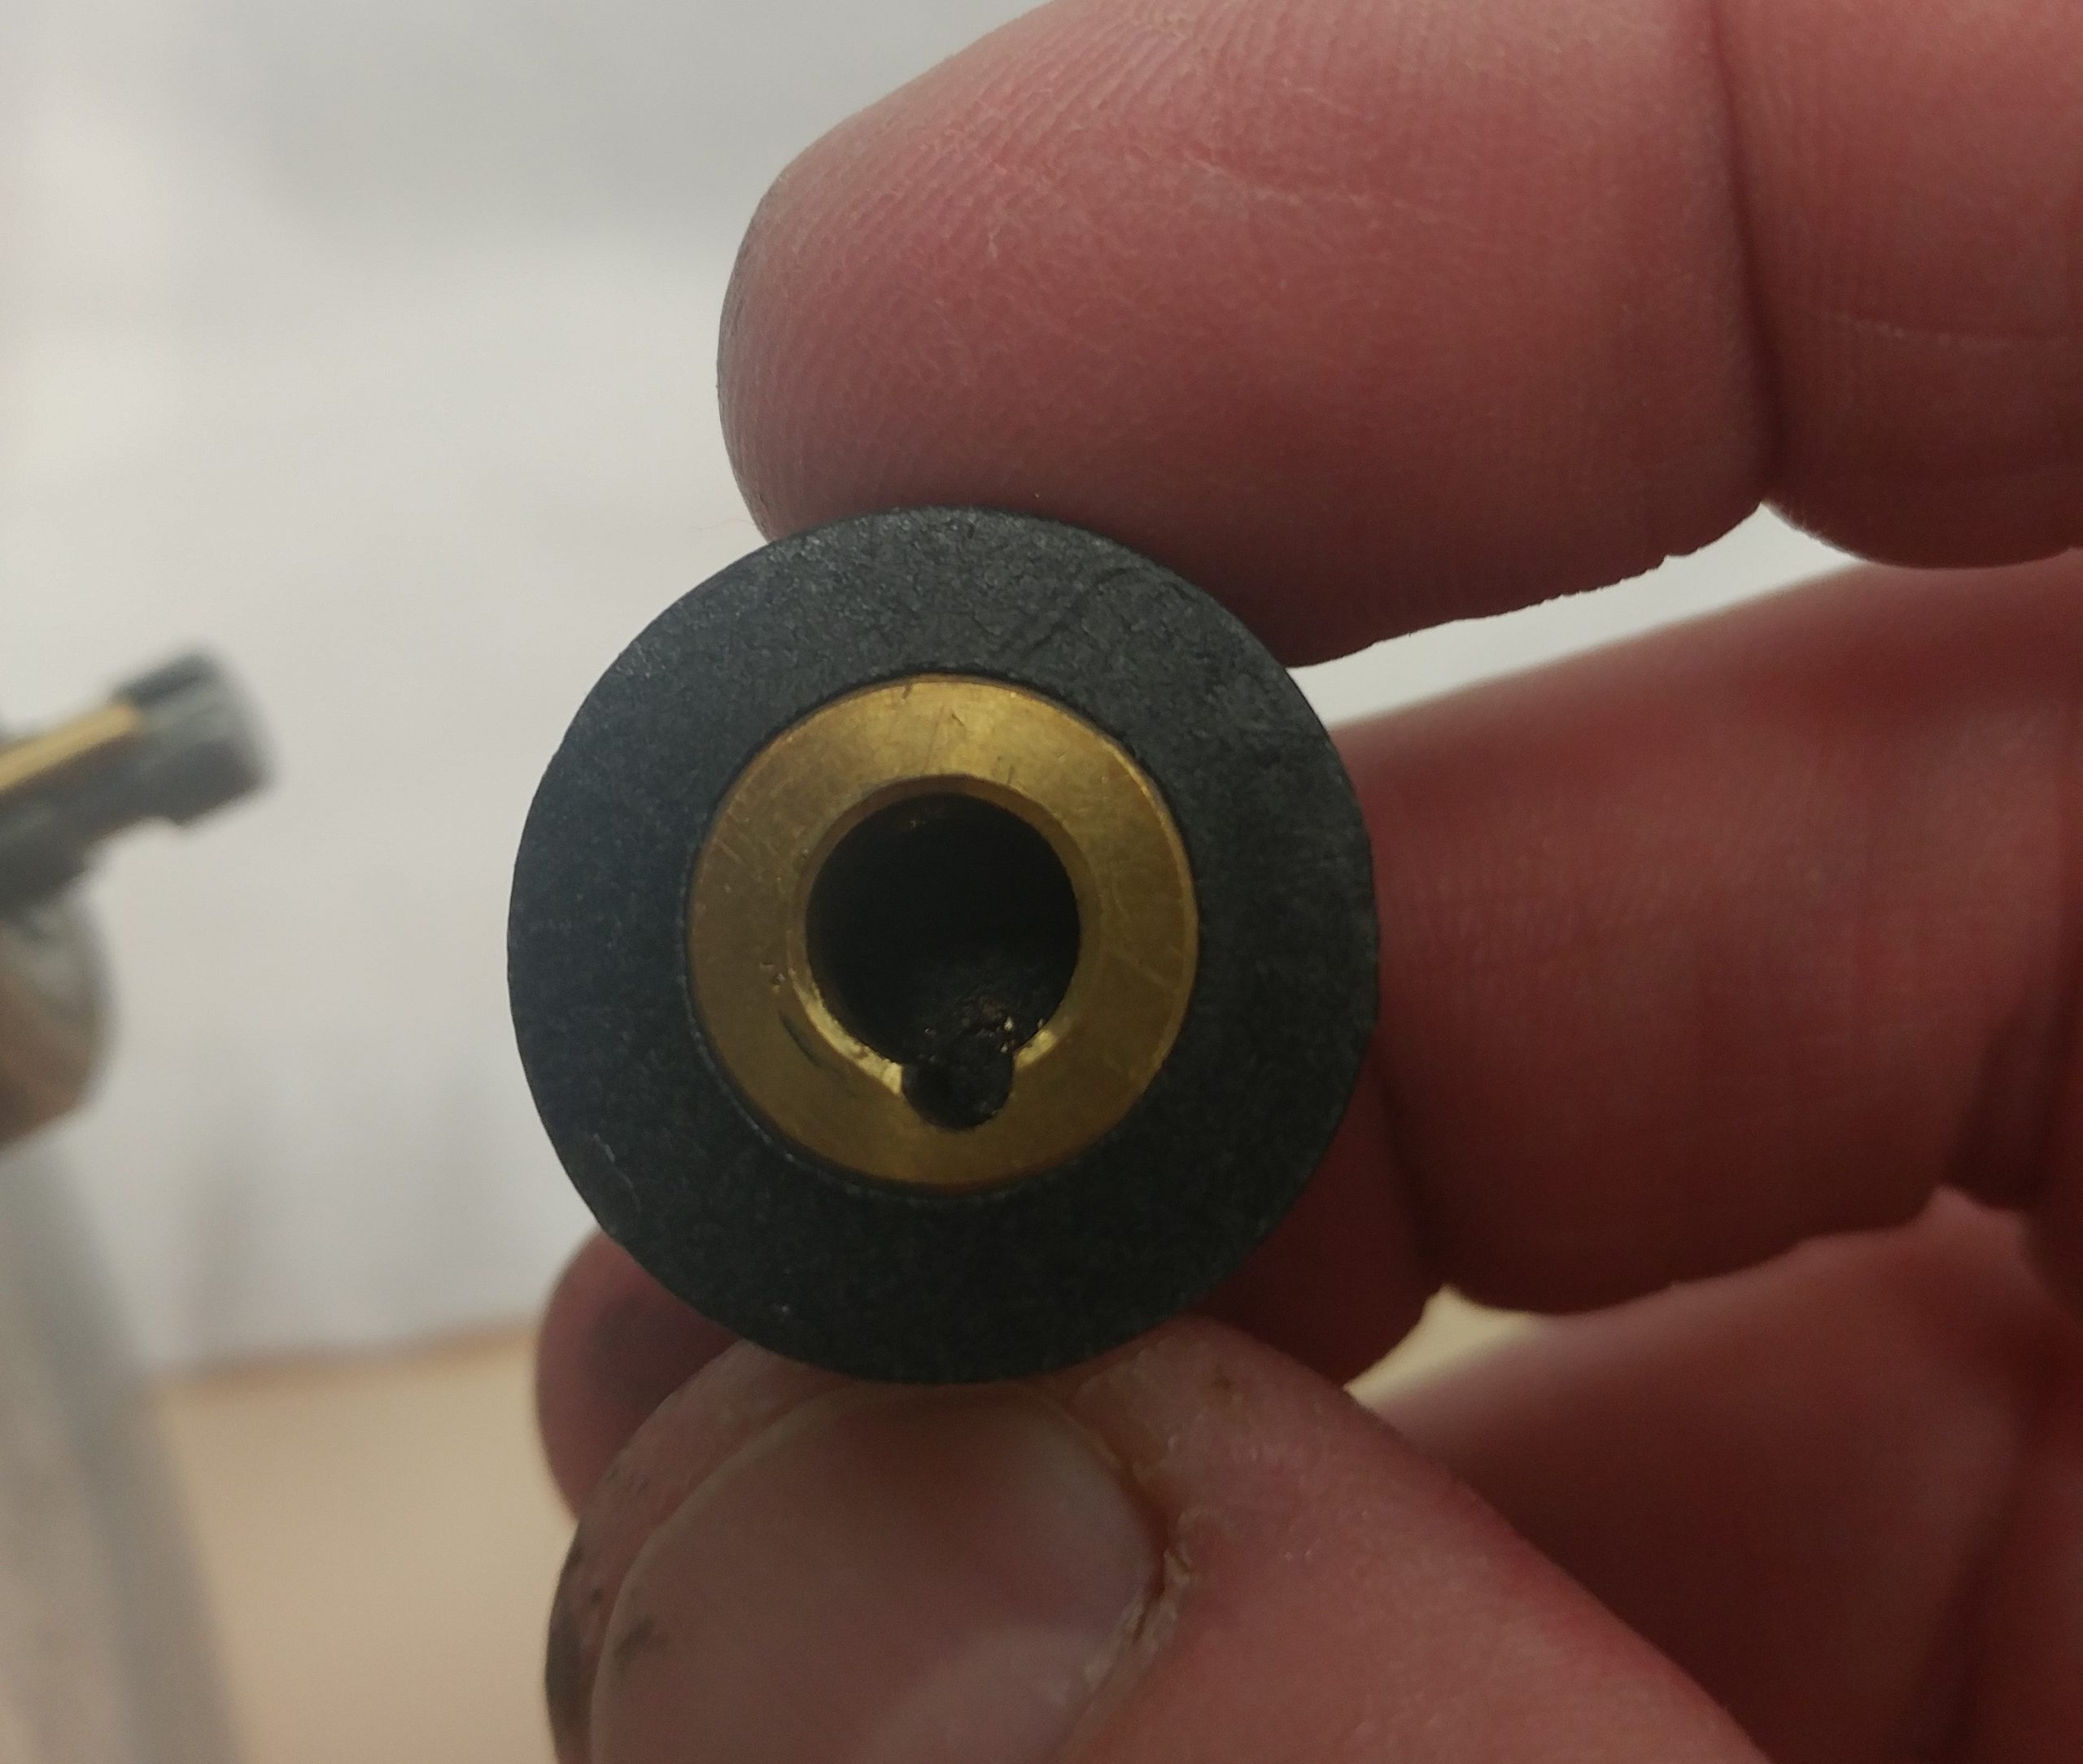
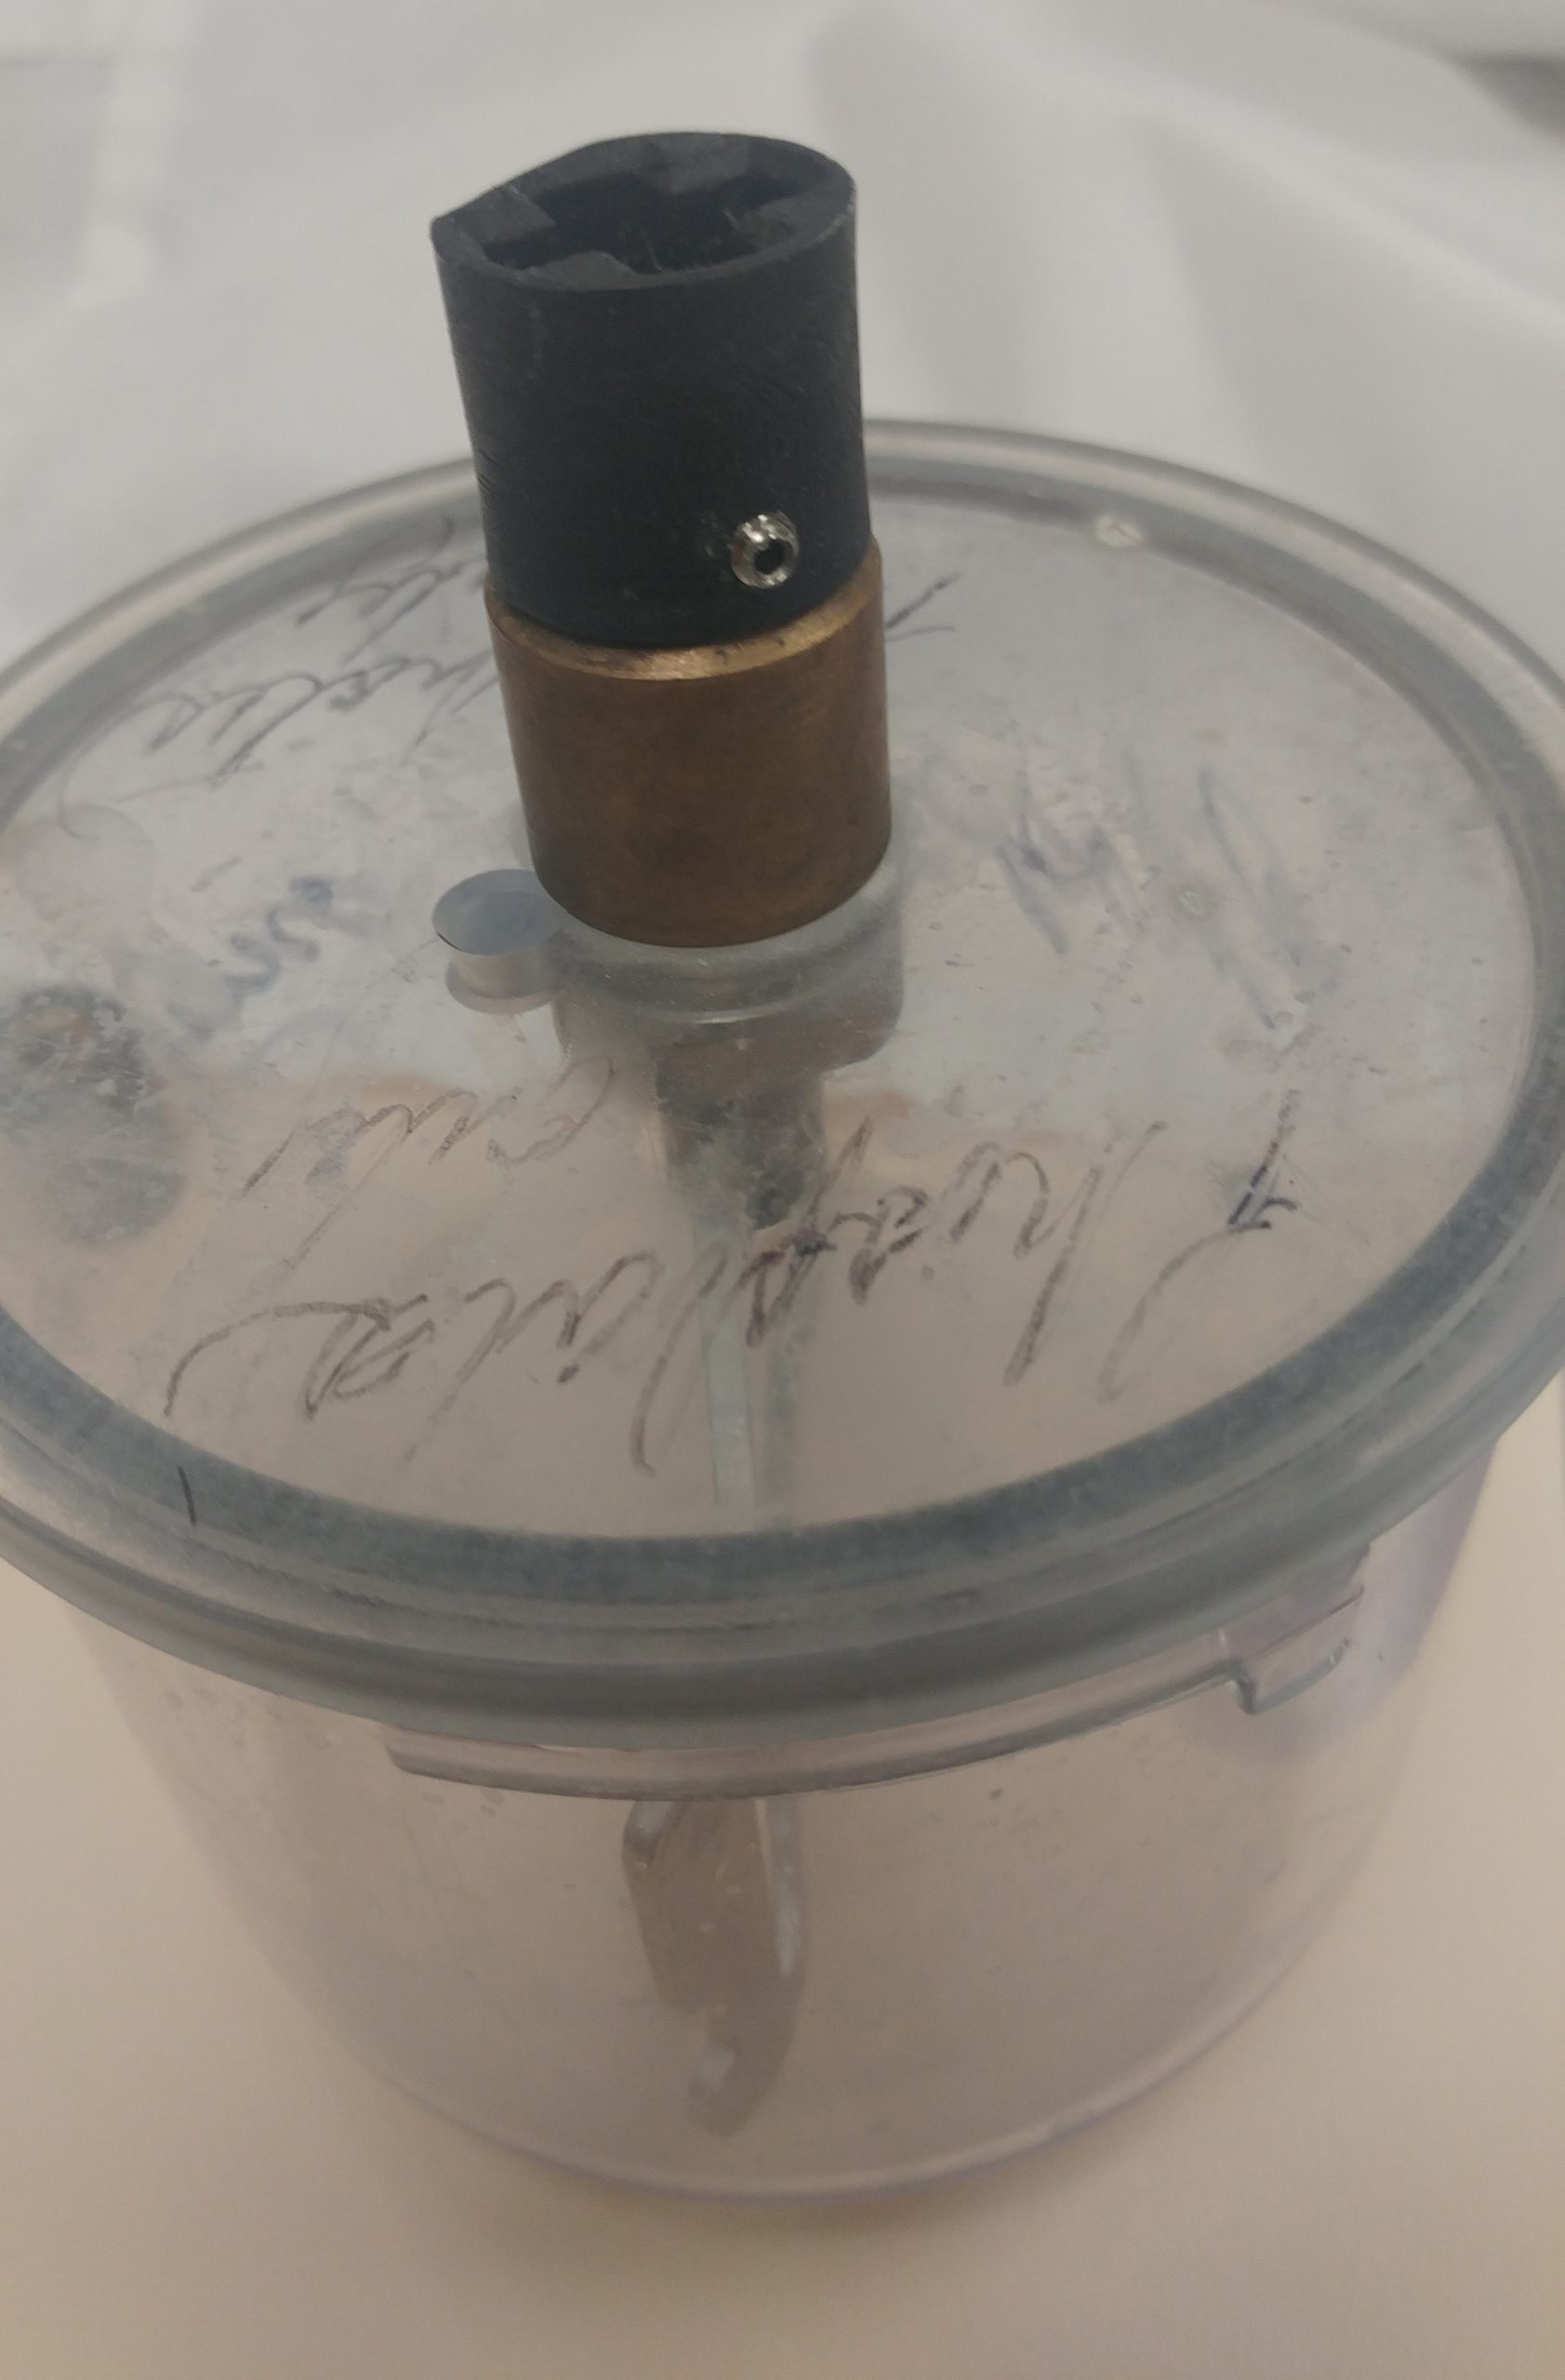
Locate the channel in the drive nut, this will slide over the brass pin.
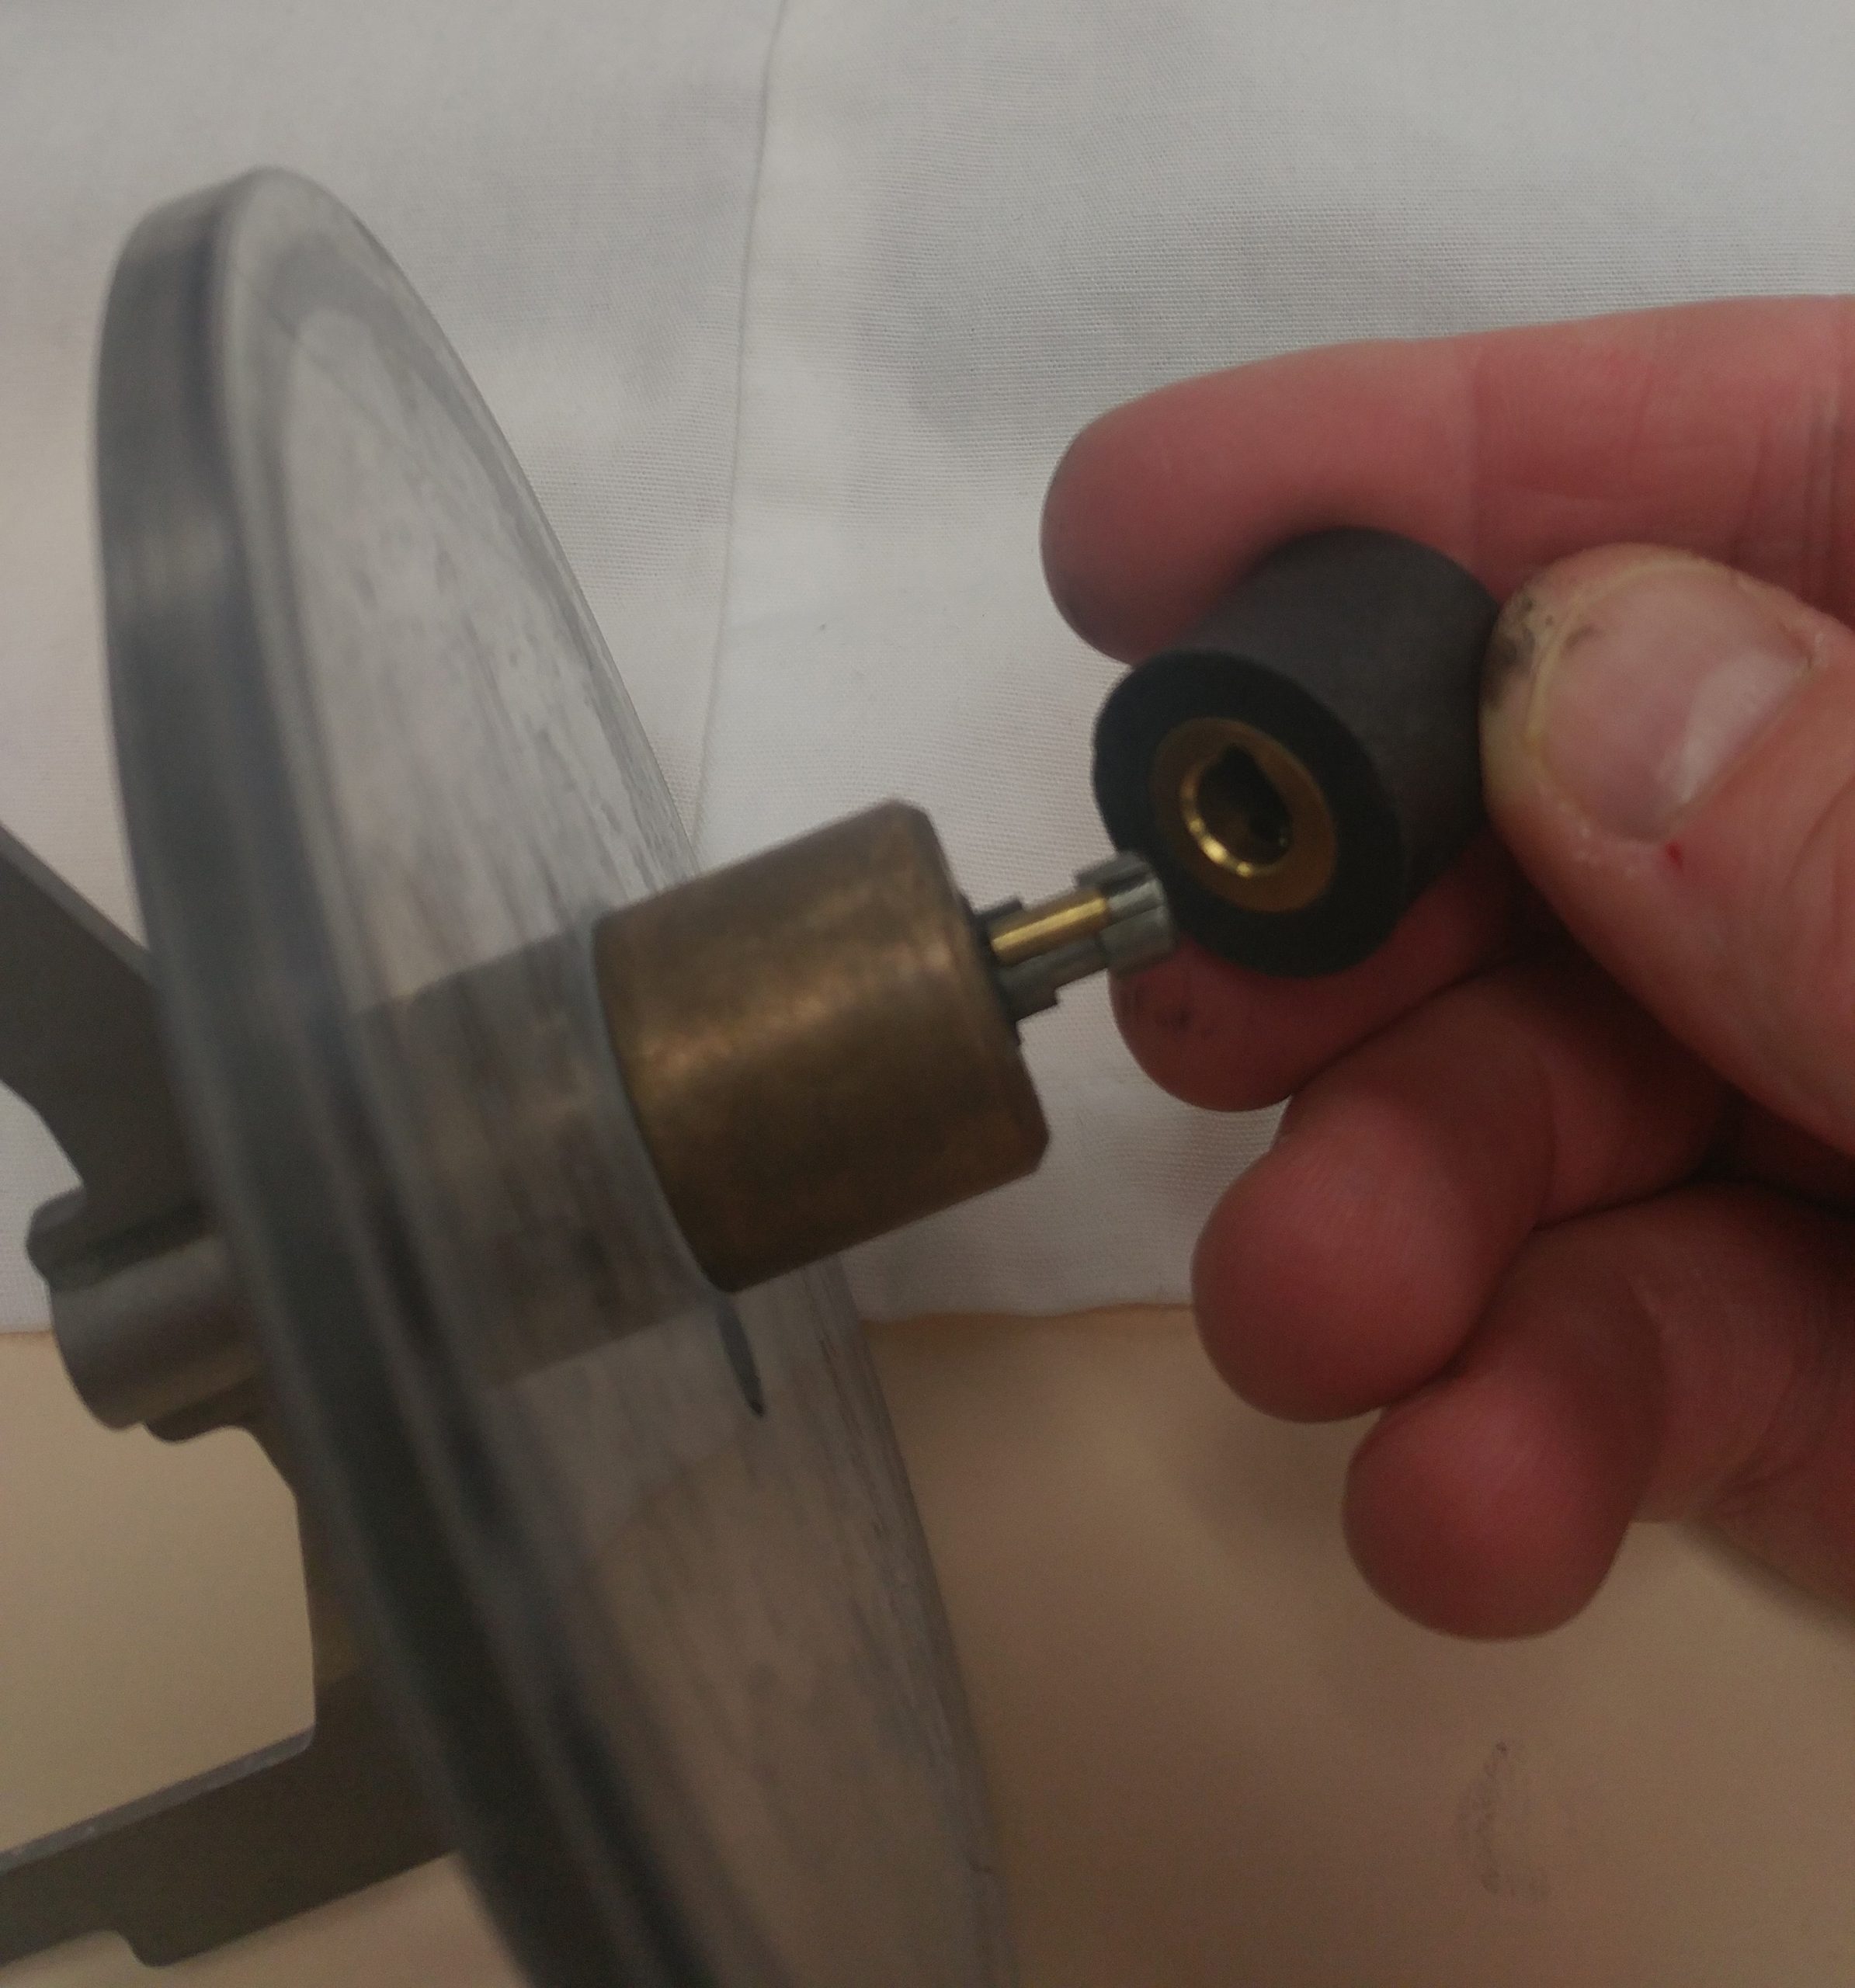
When placing the drive nut, be sure to align the slot over the trench containing the brass pin.
Once in place secure the set screw.
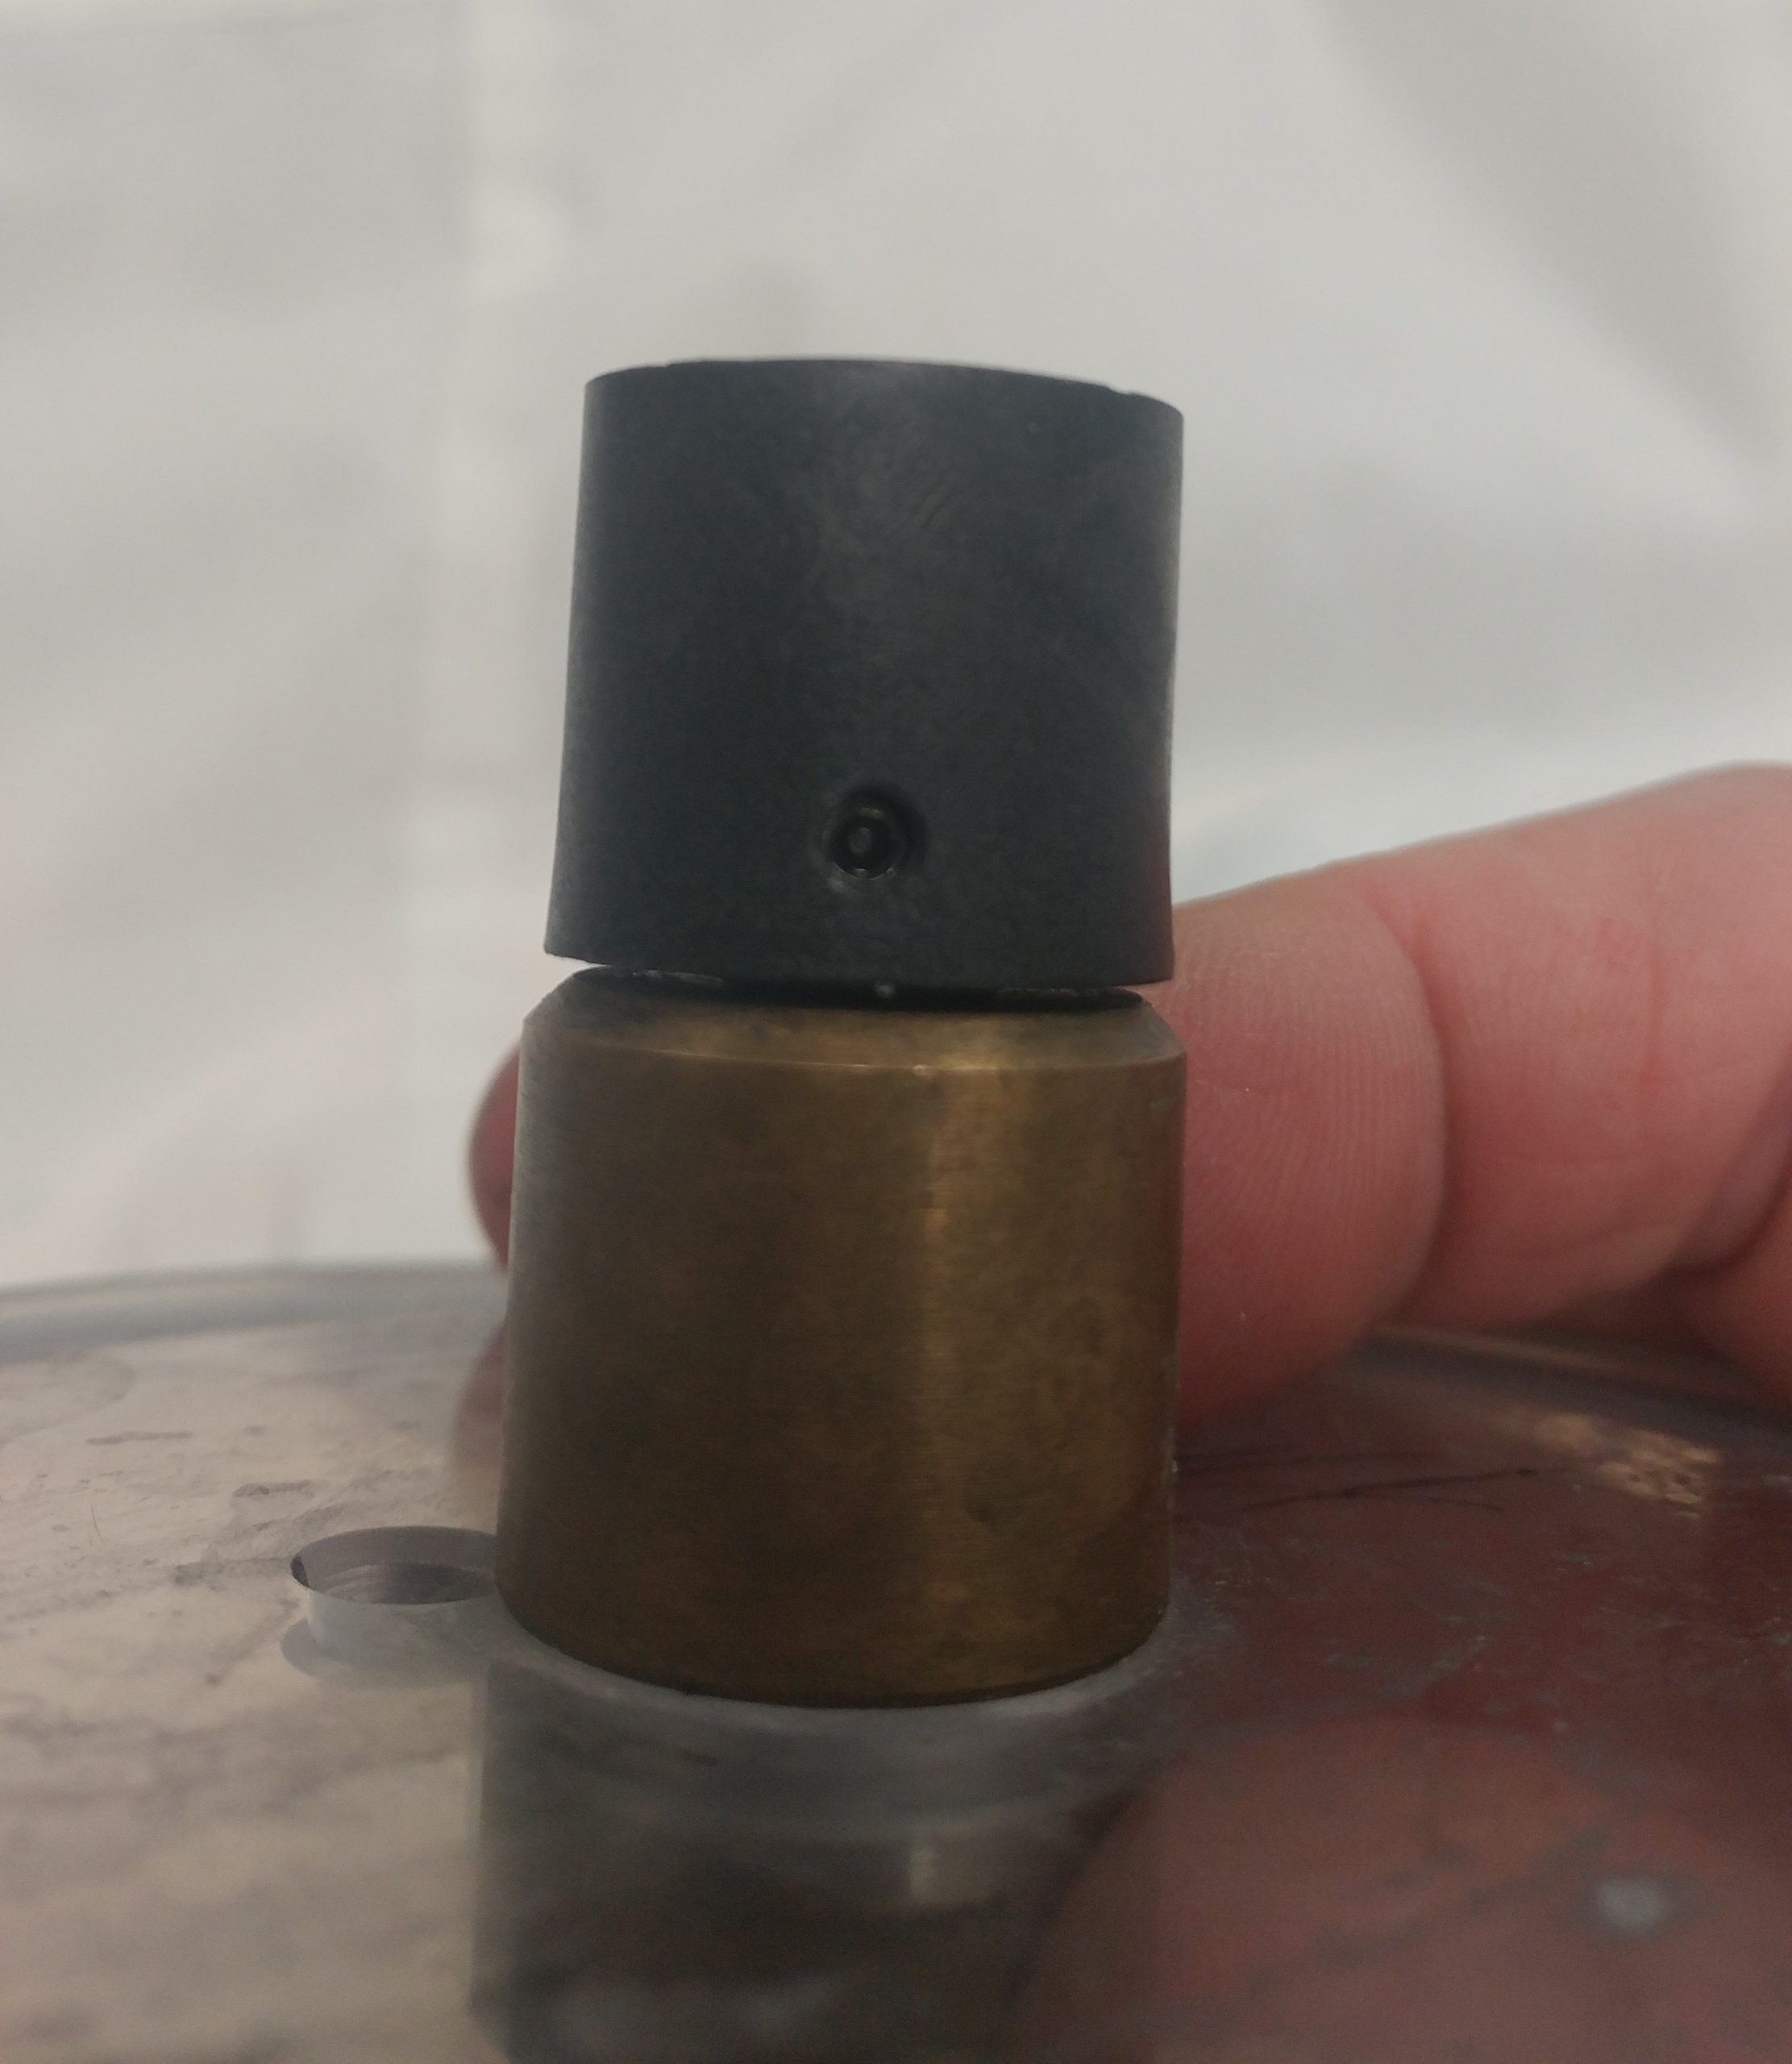
The Vac-U-Mixer is now ready for use. You may also want to place a drop of rubber base impression material over the hole to prevent gypsum or investment from getting in and plugging up the hole.